Procedures
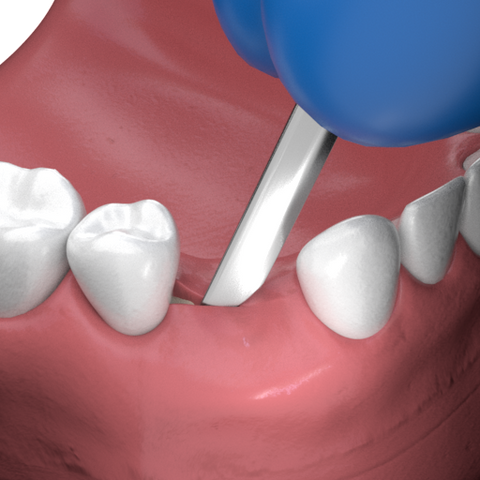
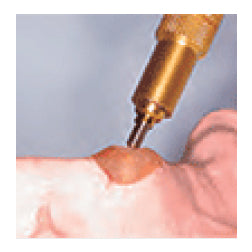
Surgical Procedure
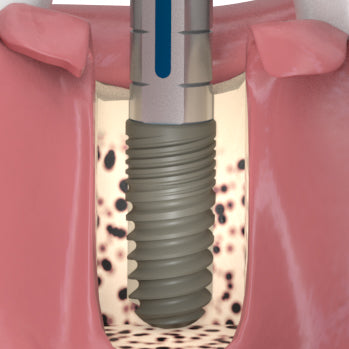
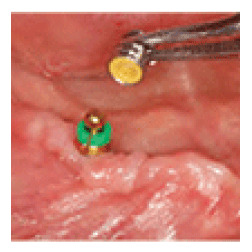
Final Placement of Implant
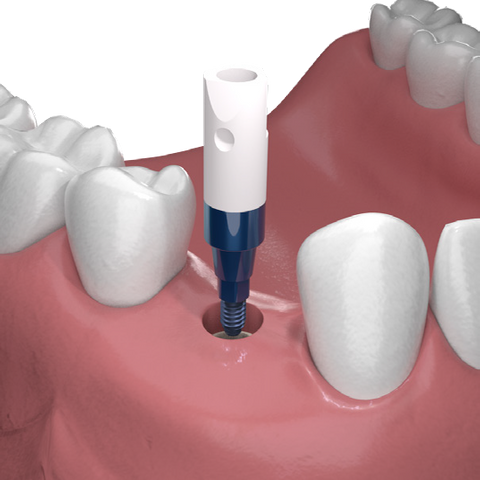
Scan Body Procedure

MUA 1.6 Placement
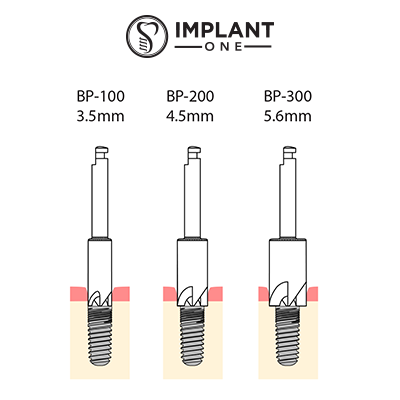
Bone Profiler Tool Procedure
Closed Tray Impressions Procedure
Open Tray Impressions Procedure
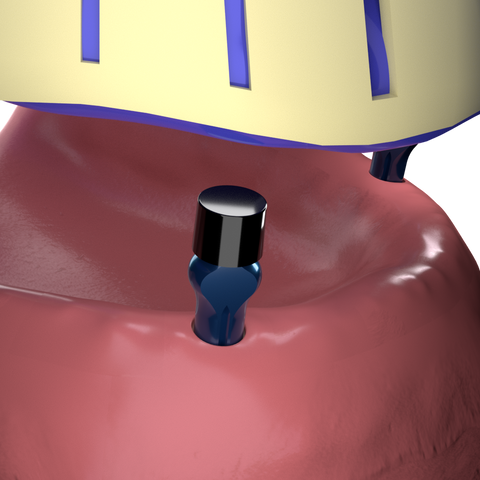
Placement of Healing Cap
Placement of Abutment and Cement Retained Restoration
Placement of Positioner Denture Retaining Abutment
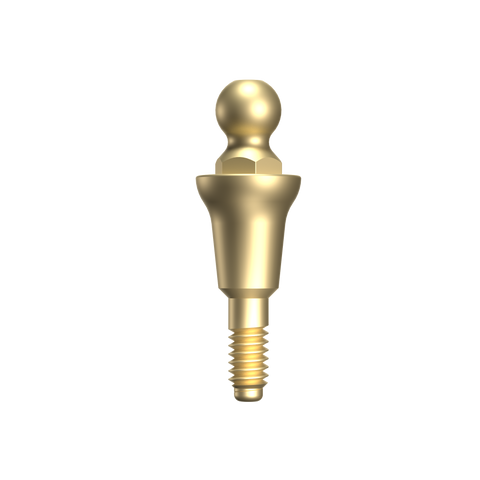
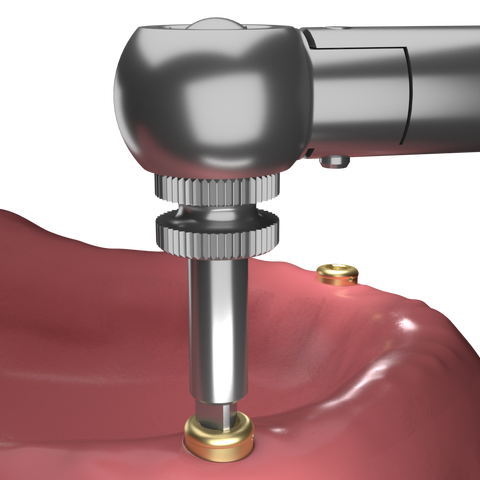
Placement of Ball Abutment and Restoration
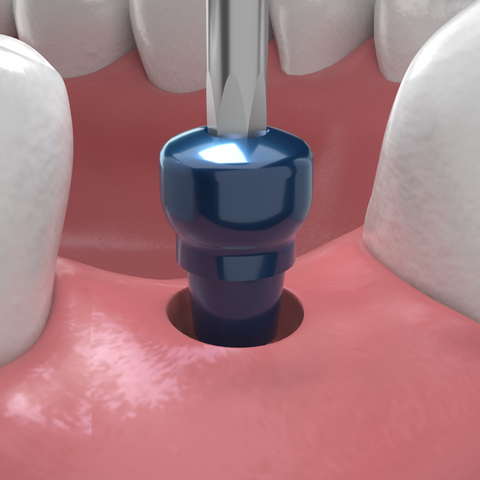
Abutment Removal Procedure
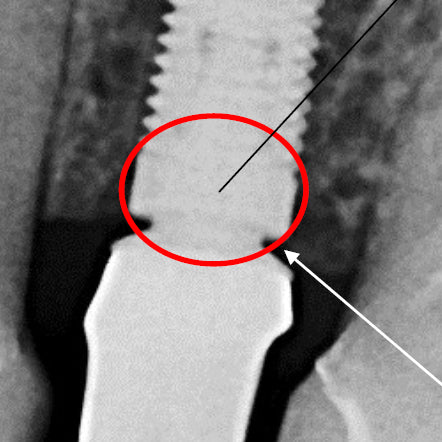
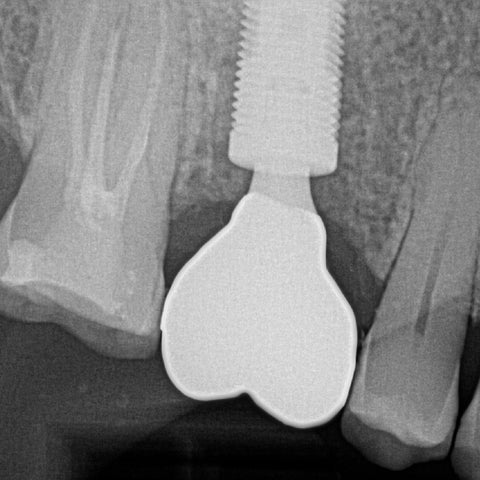
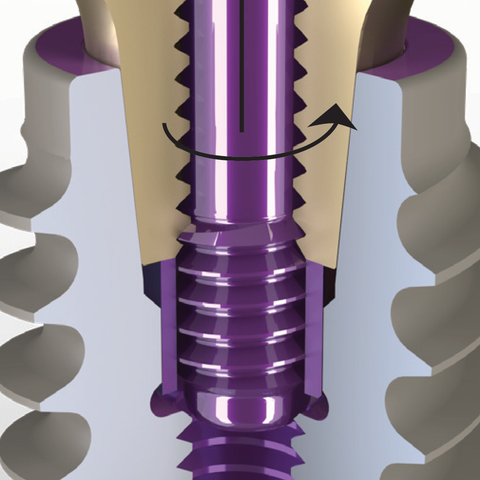
Proper Seating of an Implant One Abutment
Sphero Block Lab Procedure
Sphero Block Clinical Procedure
